

How to secure a VPS comes down to closing the easiest doors first: a non-root sudo user, SSH keys with passwords switched off, root login disabled, then a firewall. Test every change in a second session before closing the first.
This checklist is written for a single self-managed Linux server. Readers still choosing a plan can start with vps vs dedicated server hosting, and anyone with a brand-new server should finish how to set up a vps before working through the steps below.
How the checklist is ordered
The order follows exposure, not a measured ranking. A public VPS answers on its SSH port from the moment it is online, and brute-forcing passwords is described as a common method attackers use to reach SSH servers. SSH also listens on port 22 by default, which is why automated scans find it so easily. The early steps therefore deal with how people log in. Later steps reduce what the server exposes and make attacks visible.
Each measure reduces a different risk, so none replaces another. A server with keys but no firewall is still better protected than one with a firewall and password login, because the login path is the one attackers actually use.
Account and SSH hardening
Back up the SSH configuration and keep a way back in
Copy the original sshd_config before editing it. The OpenSSH guide from Shape.Host calls a backup of the original configuration file essential before any change. Keep a logged-in session open while you edit, because a wrong setting can lock you out of a remote machine. The same guide recommends trying configuration changes on a development server first. That suits anyone who cannot afford downtime on the live VPS, and it is optional for a throwaway test box.
Apply changes by restarting the SSH daemon with sudo systemctl restart sshd. Then open a new terminal and confirm you can still log in before closing the old session.
Create a non-root sudo user
This is the principle of least privilege applied to a VPS. Best practice is to create a non-root sudo user for administrative tasks and to use that account instead of root for SSH access. Day-to-day work then runs with limited rights, and elevated rights are requested only when a command needs them. Do this before disabling root login, or you risk removing your only way in.

Switch to SSH keys and turn off password login
SSH keys give a more secure method of authentication than passwords. Generate a pair on your local machine, for example with ssh-keygen -t ed25519, and install the public key for your new user on the server. Confirm that a key login works in a fresh terminal. Only then edit sshd_config so the line reads PasswordAuthentication no, and restart the daemon.
Order matters here. Disabling passwords before a working key is installed is the most common way to lock yourself out. Keep a recovery route in mind, such as a provider console, in case something goes wrong.
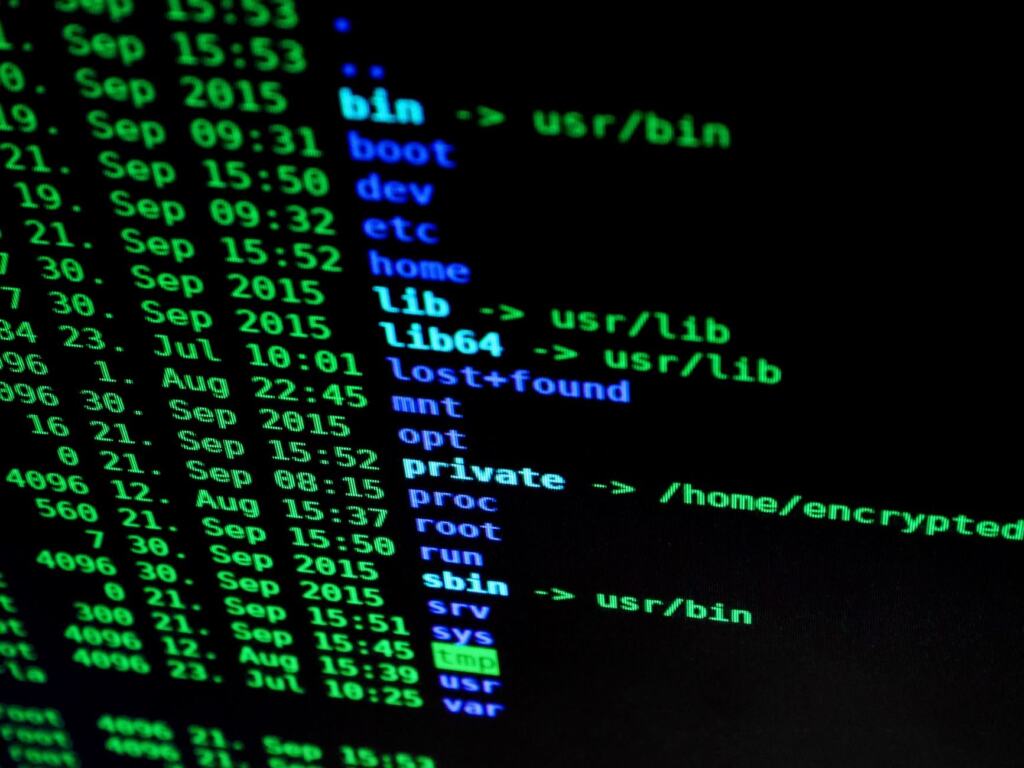
Disable direct root login
Set PermitRootLogin no once the sudo user works. Root is the one username every attacker already knows, so removing it from SSH takes away a guaranteed target. The guide recommends disabling SSH access for root and relying on non-root sudo users instead.
Limit login attempts and idle sessions
Limiting login attempts is described as crucial for preventing brute-force attacks. In sshd_config, the MaxAuthTries setting caps how many attempts a connection gets. Idle SSH connections are also called a security risk, because malicious users can exploit them, and the ClientAliveInterval setting addresses that. These settings matter most on any account that still accepts passwords. With keys enforced, they act as a backstop.
Network exposure
Firewall
A firewall is worth enabling on every VPS, because it decides which ports are reachable from the internet at all. On Ubuntu-style systems, UFW is the simple option, and a port is opened with sudo ufw allow <port>/tcp. The important rule is sequencing: allow your SSH port before enabling or reloading the firewall, otherwise the rules can cut off your own session. If you change the SSH port, the new port must also be allowed through the firewall.
Changing the default SSH port
Changing the port is optional and worth treating as noise reduction, not as protection. The guide says a non-default port can help protect the server from automated scans of port 22. It does not stop a targeted attacker, and it does not replace keys. It suits servers whose logs are cluttered with scan traffic. Skip it if it complicates tooling or colleagues’ access. If you do change it, update the firewall first, restart SSH, and test the new port from a separate terminal window before closing your working session.
Fail2ban
Fail2ban is a separate tool that reacts to repeated failed logins. Since password guessing is the common attack, it targets a real threat. Once PasswordAuthentication is no, though, guessed passwords cannot succeed, so fail2ban becomes a secondary layer that quietens log noise. Install it after keys and the firewall are in place, not instead of them. It is most useful if you keep any password-based service exposed.
Monitoring and account-level protection
Security settings only help if someone notices when they are tested. Read the SSH authentication log periodically to see failed attempts, and treat a sudden rise as a reason to review the settings above. Repeated failures against a server that only accepts keys are harmless but confirm the server is being probed.
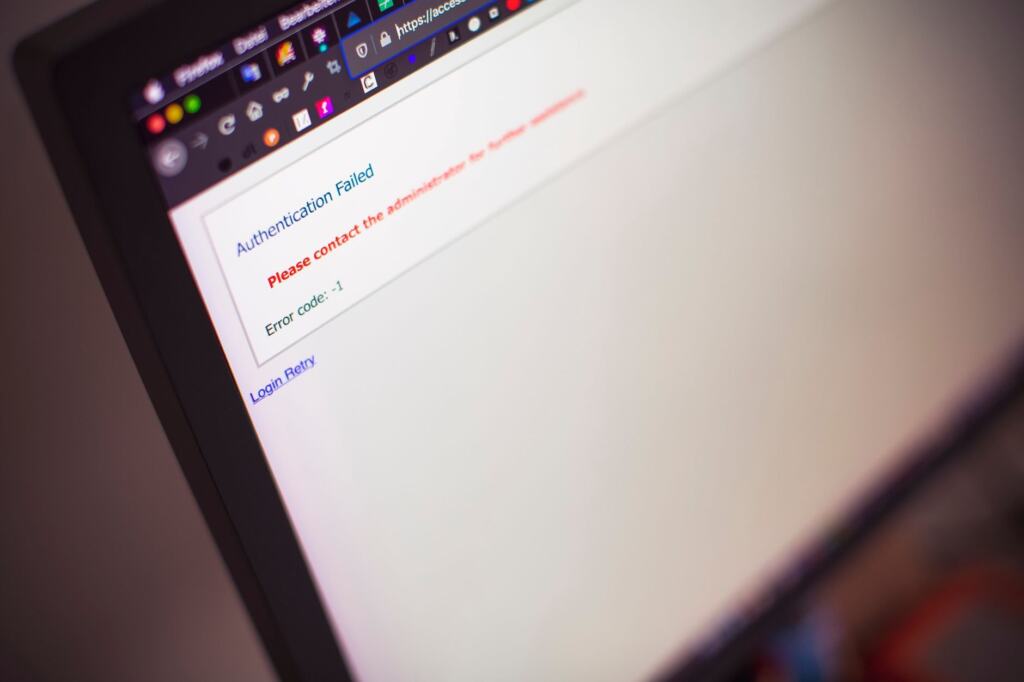
The hosting account login is a separate door from SSH. Use a strong, unique password on the provider control panel and enable any additional login verification it offers, because control-panel access can bypass everything configured on the server itself. Keep backups of important data and configuration files too, so a mistake or compromise does not become permanent loss. Sites running on the server inherit this exposure, which is covered in vps hosting for wordpress.

Comparison of the main measures
| Measure | What it addresses | Limit or risk | Planning use |
|---|---|---|---|
| Non-root sudo user with root SSH login disabled | Direct attacks on the root account; least privilege | Create and test the user before disabling root | Do first, as the base for every later step |
| SSH keys with PasswordAuthentication no | Password brute-forcing | Locks you out if the key is not installed and tested | Highest-value change; do before the firewall |
| MaxAuthTries and ClientAliveInterval | Brute-force attempts and idle sessions | Less critical once passwords are off | Add as a backstop in sshd_config |
| Firewall such as UFW | Which ports are reachable | The SSH port must be allowed first | Enable once the SSH port is allowed |
| Non-default SSH port | Automated scans of port 22 | Not real protection on its own | Optional; reduces log noise only |
| Config backup and test session | Recovery from a bad edit | Needs a separate terminal kept open | Do before every sshd_config change |
The SSH and firewall points in this table follow the OpenSSH setup guide from Shape.Host.
Frequently asked questions
How do I secure a VPS after setting it up?
Start with the login path. Create a non-root sudo user, install an SSH key, disable password and root login, then add a firewall. Back up sshd_config before editing it.
How do I disable password login and use SSH keys?
Generate a key pair locally, install the public key on the server and confirm it works. Then set PasswordAuthentication no in sshd_config and restart the SSH daemon.
Should I change the default SSH port?
It is optional. Moving off port 22 can cut automated scan traffic, but it is not a substitute for keys. Allow the new port in the firewall and test it in a new terminal before logging out.
Do I need a firewall and fail2ban on a VPS?
A firewall is worth having on every VPS. Fail2ban is a useful extra against repeated failed logins, though it matters less once password login is off.